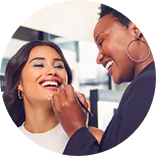
Services
From makeovers to personalized skincare consultations
From makeovers to personalized skincare consultations

Get inspired, play with products & learn new skills

Exciting launches, parties & more

Explore what's hot in your store

Ask questions, join challenges, and get recommendations from people like you

Discover topics tailored to your beauty interests
Add your photos and get inspired by fellow beauty lovers

View activity, savings and benefits
Redeem items, samples and more
View and track online orders
Reorder it from in-store and online purchases
View saved products
Recommendations from your store visits
Manage your services, classes and events
Complete your beauty traits for personalized recommendations
Payments, contact info, addresses and password
 Sign In
View activity, savings and benefits
Redeem items, samples and more
View and track online orders
Reorder it from in-store and online purchases
View saved products
Recommendations from your store visits
Manage your services, classes and events
Complete your beauty traits for personalized recommendations
Payments, contact info, addresses and password
Ask questions, join challenges, and get recommendations from people like you
Discover topics tailored to your beauty interests
Add your photos and get inspired by fellow beauty lovers
From makeovers to personalized skincare consultations
Get inspired, play with products & learn new skills
Exciting launches, parties & more
Explore what's hot in your store
Welcome everyone to BICU Thread! The only university that's pretty much accept all, serve all. (That's right, there's a 100 percent acceptance rate. )
WHAT IS BICU?
miss ya @JeffreyBD
For a mini masterclass, posting styles suggested are:
The goal is to have a well of personalized info that can be drawn from whenever. Following social media can be helpful, but it's also nice to have real person tips and tricks.
Thanks for the tag @danielledanielle! I have always enjoyed learning something new 😀
Thank you for the tag @danielledanielle this is really neat!
Thanks for the tag @danielledanielle and the beautifully summarized notes on the universities upcoming endeavors @itsfi does this mean anyone can teach I would love to do one on winged liner 🙂 also my foremost gratitude of my acceptance I am so excited for this ❤️❤️❤️
Lip Lab 🥼 💄
There's a few ways to get a killer lip.
Suggested Tools:
Lip brush
Applicators already included (doe foot, teardrop tip, brush, etc)
Mirror
Remover (aquaphor, Vaseline, coconut oil, etc)
Lipstick of choice
Lip products or product
Tissue for blotting
Lip prep:
Exfoliation (a scrub, a washcloth, a toothbrush)
Moisturizer: primer or mask or balm or oil
Optional clean up:
Q tips
Micellar water or balm cleanser
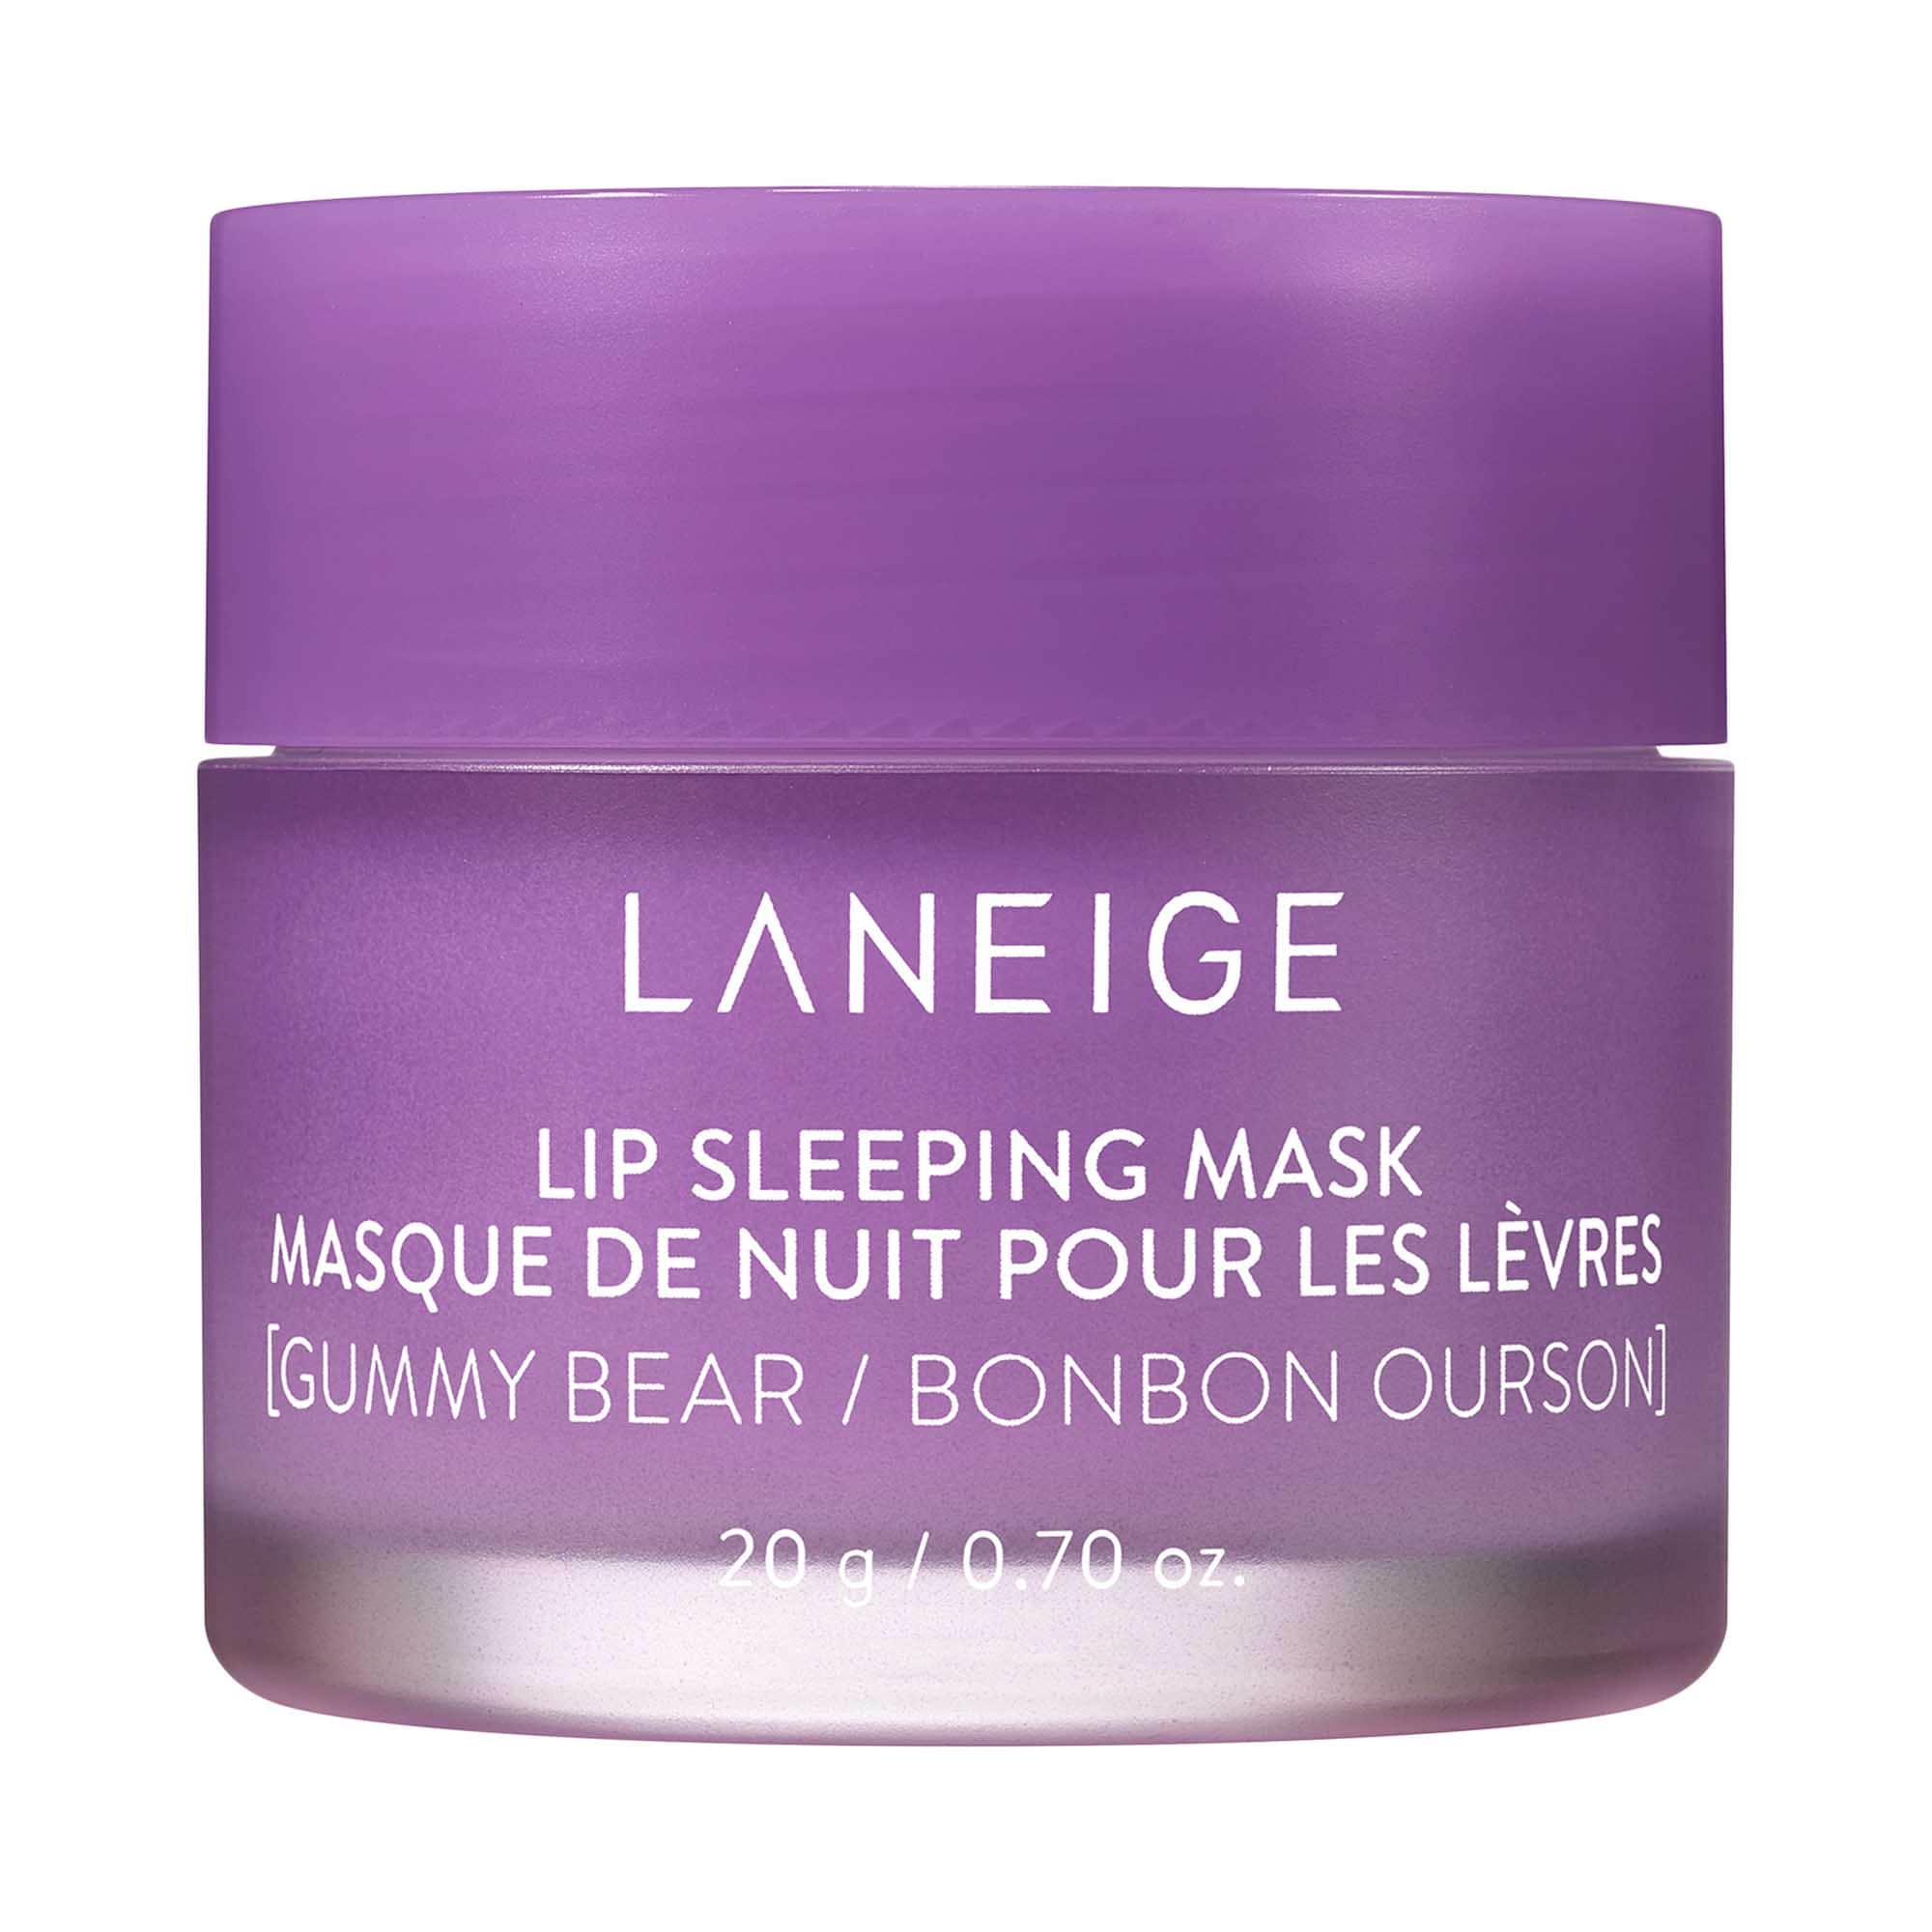
1. Prep your lips
This can be as laborious as you like it to be. Usually in the morning I gentle rub my toothbrush over my lips after brushing and use a lip mask like LANEIGE Lip Sleeping Mask – Intense Hydration Lip Treatment with Vitamin C , but you can use Vaseline, aquaphor. Then I brush my teeth, drink water , etc, some of the mask has when away. Then I remove the rest with a washcloth or cleansing towel.
2. Choose your adventure.
Lip oils and gloss are the most forgiving. Just a swipe and you're good to go
Lip stains can be fun as well, they are dropping for me. Some stains you can even apply and peel off! I don't own many of these, but SEPHORA COLLECTION Cream Lip Stain 10HR Liquid Lipstick are fantastic. You can apply, then blot them with a tissue to get a strain or just let them wear away.
2a. Other Lip items (liquids, butters, etc) Sometimes I just go in and fill. Lately, I've been using liner. I draw thick lines on the outside. Top lip is away from the center/Cupid's bow. That's usually tricky for me. If I get too off track, I use a tip in the same direction, almost like I'm trying to push the pigment into the lip vs wipe it away
Another way to do it is to use the tip of the lipstick like a liner, the Fenty Mattemoiselles were so good for this 🥲. I know @WinglessOne enjoys this method.
Fingers! Mother herself (Pat McGrath) did this, just apply with your fingers. This gives you a lot of control with the pigment. I like using my fingers for ombre looks and smoothing out harsh edges (which I should've donr in the photo!)
3a lip brush 🖌️
This can also be fun to practice. You can feather in a lipstick or use any lipstick with a brush. Essentially trace a smidge outside your lip line.

Additional Tips from It Cosmetics (dot) com
How Do You Properly Apply Lipstick?
With prep work out of the way, it’s officially time to learn how to apply lipstick like the pros do. Let’s dive right in.
Step One: Line and Fill In Lips With Liner
Consider lip liner a BFF to both your lips and lipstick. When used correctly, lip liner can help:
-Better define your lip shape
-Make lips appear fuller
-Prevent lipstick bleeding
-Turn virtually any lipstick into a long-wear formulation
There are a few techniques you can use when learning how to apply lip liner. If you want to simply define your existing lip shape, line the edge of your lips—AKA the vermillion border—with the lip liner. Next, fill in your lips with the liner.
If you want to create fuller-looking lips, you’ll need to check out an “over lining” lip liner tutorial. Starting at the cupid’s bow, lightly trace just beyond the natural shape of your lips. Don’t overline at the corners, which can look unnatural. The goal is to create a realistic fuller pout, so practice as much as necessary and send a selfie to a friend if you want a second opinion.
For either technique, use either a lip liner that matches your skin tone, or choose a lip liner color that closely matches your lipstick.
EMBRACE YOUR POUT!
Step Two: Apply Lipstick From the Center and Outward
Ah, the moment we’ve all been waiting for: putting lipstick on your lips. Focus your application at the center of your lips, which provides more control during application. From there, you can work your way to the outer borders.
Step Three: Blot Lipstick & Re-Apply
Blotting is an old-school makeup trick that can help prevent lipstick cracking, creasing, bleeding, and fading. Simply press your lips together over a tissue to remove extra product, then reapply and blot again.
Step Four: Add Gloss If Desired
If you prefer a shiny finish, top your lipstick with a lip-loving gloss like Pillow Lips Solid Serum Lip Gloss. Available in eight pretty hues, this collagen-infused formula keeps lips shiny and moisturized without any sticky or tacky residue.
Whether you’re wearing a bright red lipstick, a girlish pink, or have opted for a more natural hue, knowing how to apply lipstick like a pro will make for perfect lips every time.
How I blontour - brushes and slight strategy
Obscenely bright light. This is my bathroom light, there's another, but they are bright... Sometimes too bright.
The light casts a perfect cheek contour shape/shadow vs where I can suck in my cheekbones
Using a brush, just like Dior suggested, works too. Notice where I hope my cheeks in, it puts the shape too low...
Now let's look at brushes. I like a small dome brush as suggested, but also a tapered brush
Iconic London Contour Nose brush
sigma F04 extreme structure contour ( I never realized that was the name until now, my gawsh)
Sonia G lotus fan
Sephora collection 47 (old version)
You can do this with just a contour brush, but the tapered brush I used to trace...
Try to load up the taper brush, since it's flat on the side, I load that part up
Then I trace the shadow. It helps to aim slightly higher
Use your fluffy contour or cheek brush to blend up
Voila, blontour
NARS Talc-Free Powder Blush Dolce Vita – 888
Thank you for the throughou tutorial I had a little laugh when you said “sometimes the lights are very light too light” that made me smile and so did this tutorial I love each photo and the presentation I am gonna do this after work! I’m looking forward to it. Yours looks amazing 🤩 @danielledanielle
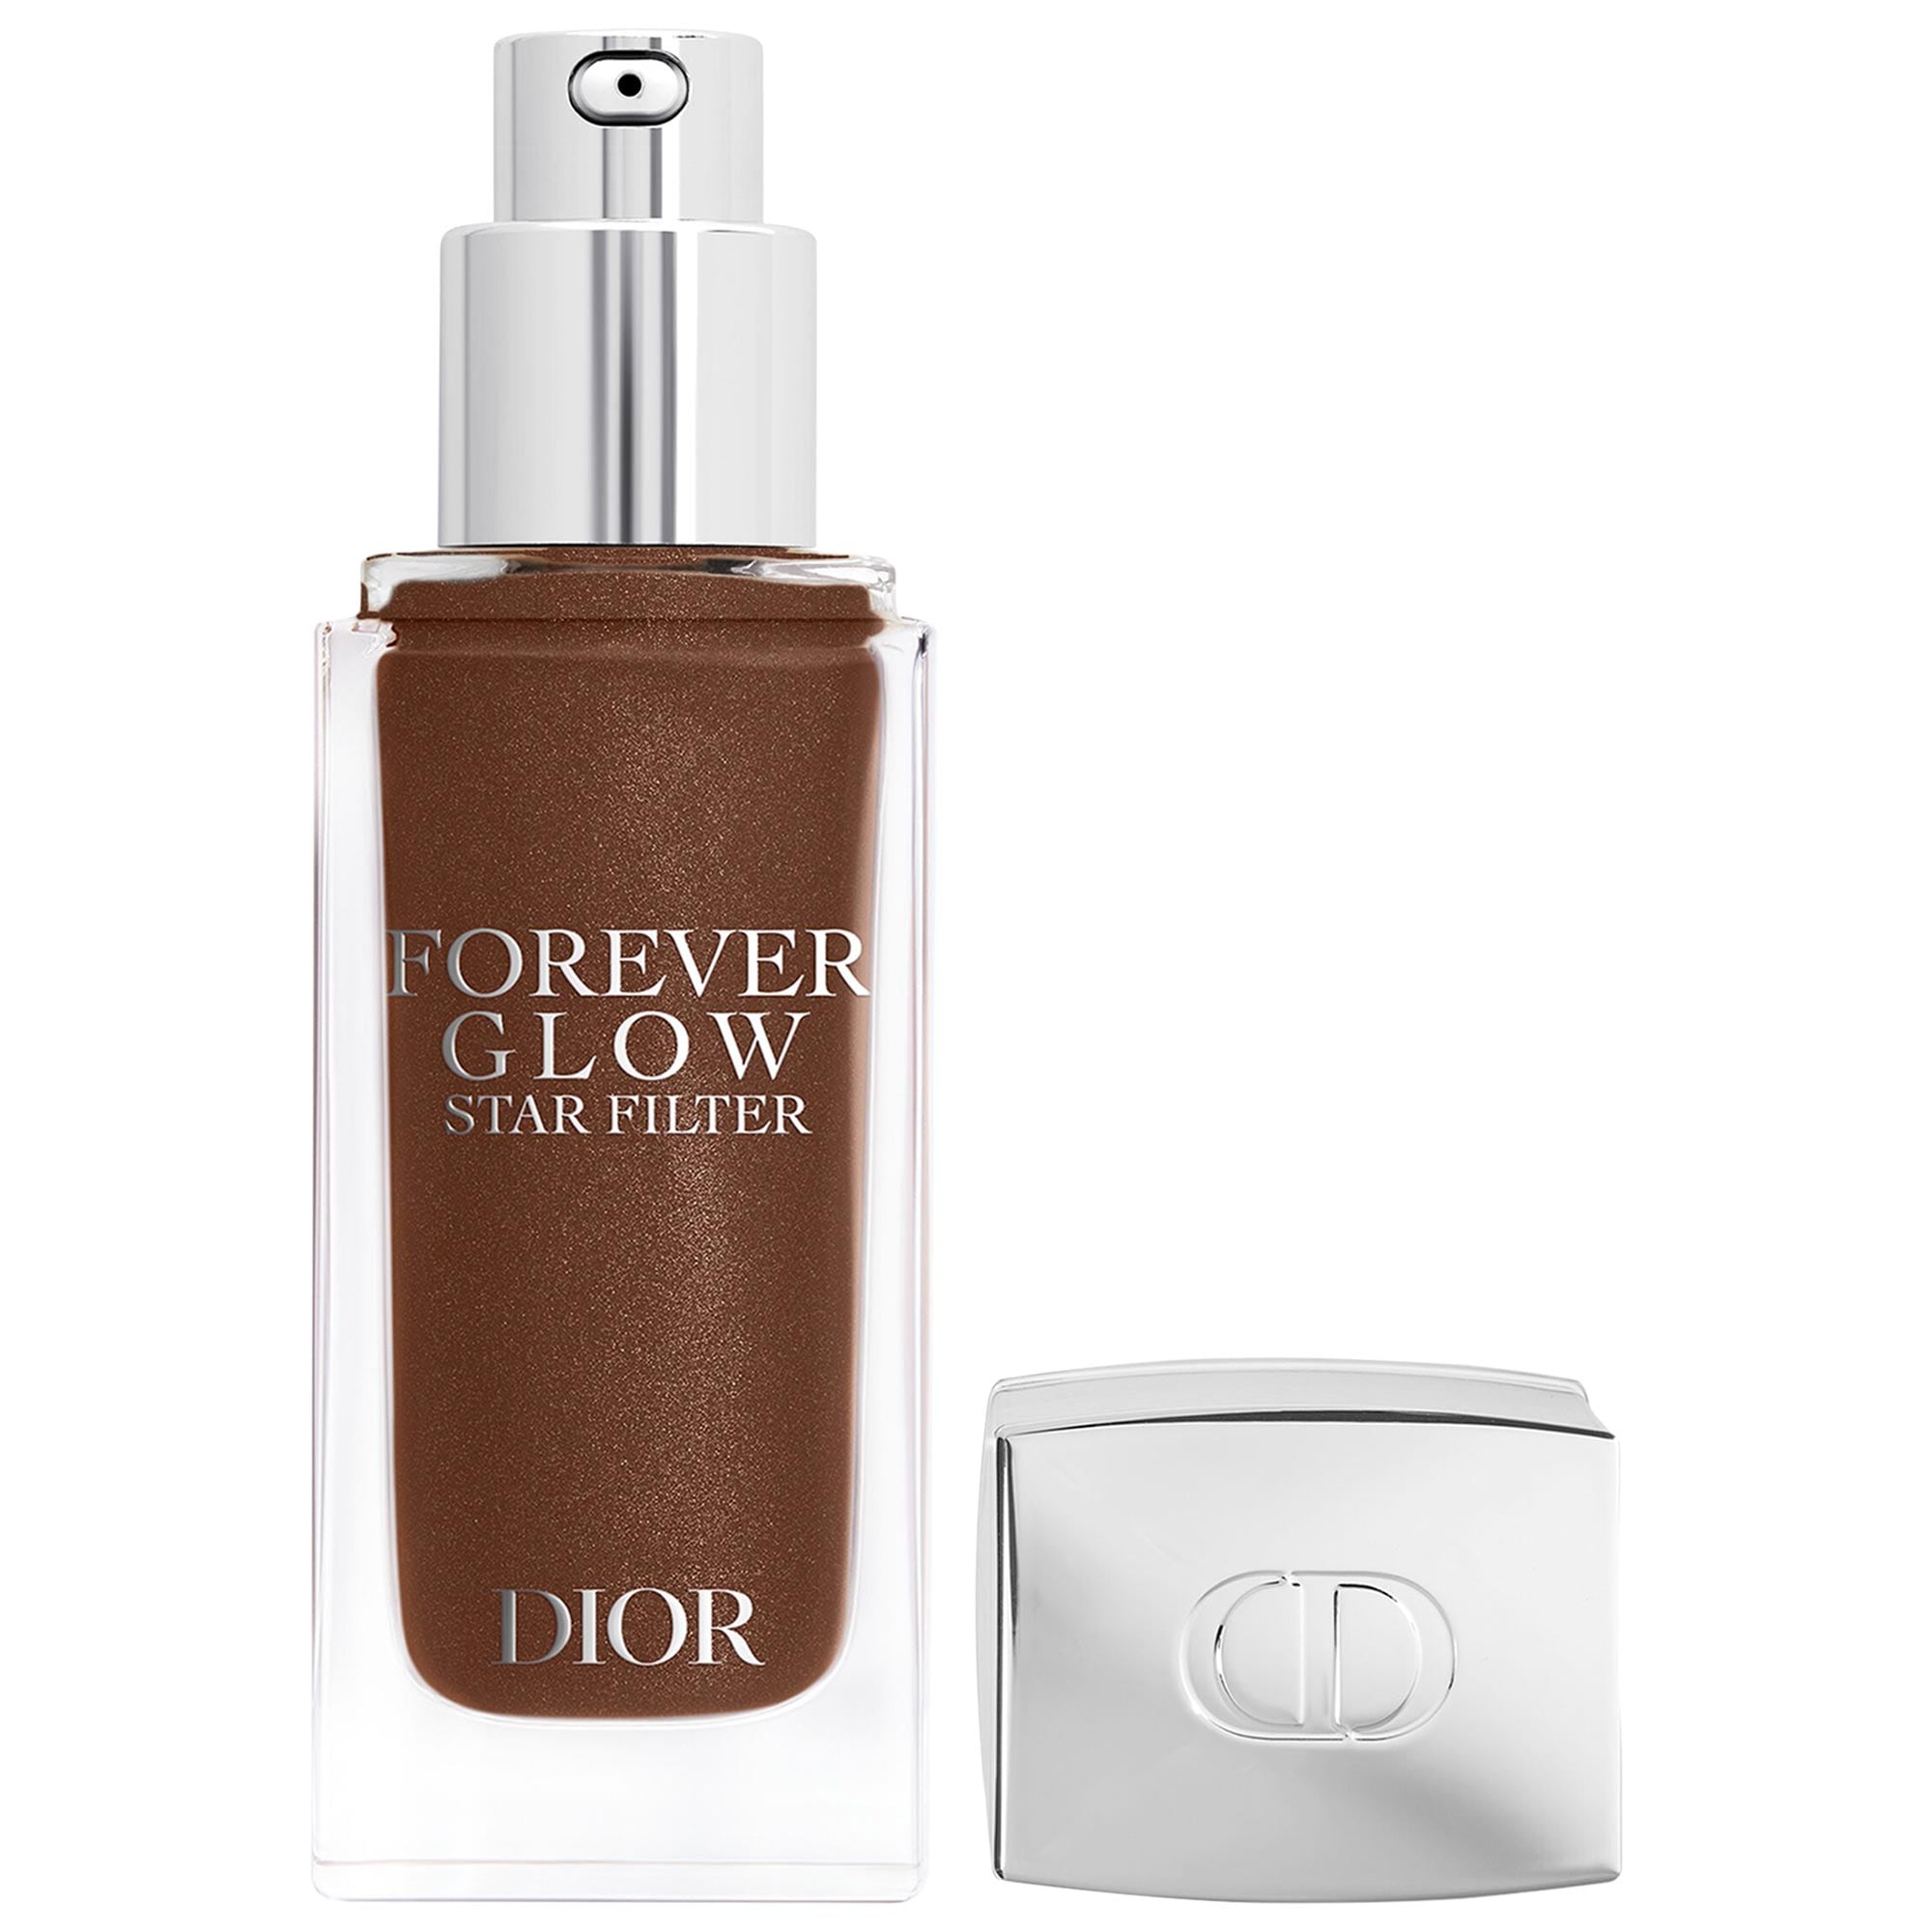
Blontour via Dior Masterclass
These pics are from the Masterclass
Some of the products used:
DIOR Dior Forever Natural Powder Bronzer
Dior Blush Brush no. 16
DIOR Forever Glow Star Filter Multi-Use Complexion Enhancing Booster
DIOR Dior Forever Skin Glow Hydrating Foundation
DIOR Rosy Glow Blush 020 Mahogany
DIOR Lip Glow Oil
So this was used a lot, my guess is the smaller brush head (vs a large bronzer) helps with placement in smaller areas, but it need not be so precise just slightly more concentrated vs a wash
The complexion was about a healthy glow, so think more radiance "lit from within"vs dewy, like you could use DIOR Dior Forever Matte Skincare Foundation vs the glow of you're more oily, or even their cushion or powder I fathom. The star filter with skincare is also just great coverage, I'm oily combo and have been used it alone as foundation
Lining it up with the ear to find your natural light and shadows
Smiling and swiping it a little lower than your cheek to contour,
Using the blush and brush to bring it in without adding additional color
Using the remaining color for a soft contour in the brow bone/socket
@danielledanielle Thank you for this idea! Oh and I too want to pick up a sweatshirt! But I need a garden flag with our university name and colors 🥰
@Cissy63That would look lovely, imagine the black white colors with BICU and a garden 🏡 🤌🏽🤌🏽
Doll Face Blush for the Long Faced Dolls
I think of this as subtle contouring with blush or bronzer with a kiss of color in the middle.
To keep from looking too orange, I work in a gradient, using the deepest color at points away from my face and try to highlight/brighten the middle.
I like PMG's Bronzer for this, because desert glow has a bit of a shimmer to it. The bronzers are also very orange/pink which works well with my medium olive tone.
Tools:
Two Powder Bronzers and/or
Powder Highlight or Blush
Brightening powder (think yellow, pink, lavender)
A contour like brush
Two fluffy brushes, one for buffing and one for blending.
I lay down the highlighter first because that's my "burn" and I want to be able to spread it out. If your burn is a blush, do so accordingly.
I then add depth with my bronzer. I go heavy, because I also will use a lot of the leftover on the brush to unify everything.
I do sweeping motions up and out, and blend it in a c-shape motion. If needed, or desired, I may add another highlight and blend up and out with a fan brush.
I then use a different fluffy brush to buff my brightening powder across the face.
Then I go and use the leftover bronzer again and drag it along my nose bridge and lightly dust
my forehead.
Voila!
Love this!! Great job with the step by step instructions!! @danielledanielle
@danielledanielle What a great tutorial. I will definitely try this out. Thank you!
@danielledanielle Thank you for the step by step instructions 🤗🤗. And the finished project deserves an A+🩷
You're all being very kind about my face spam @Cissy63 , @itsfi , @Mellmars1185 , @peculiarzmakeup , @CynthieLu 🙏🏽
It’s so kind of you to show your face, spam away! and an amazing step by step tutorial I always find these helpful since I’m pretty new at makeup I really started learning when I got to BIC 🫶 @danielledanielle
Thank you for this class @danielledanielle👏 🙏 This was a fantastic read along. I appreciate all the details and information you shared with us. It was fun to follow along with you. 😀
I'm going to try these tips out!
And this fabulous mini masterclass has been bookmarked, Professor @danielledanielle! Love the course title and the details you share about your technique. Beautiful glowy bronze-y look on your pretty model! Well done! 😍


